Why Branding?

What do you think of when you hear “photographer?” My guess is you thought of a wedding photographer.
Yes, wedding photography is a HUGE part of the industry but there are so many different types of photography. It took me a long time to learn this and explore other genres of photography before settling on branding. I would love to share more about what branding photography means to my story and what it could mean for you.

IMG_3200.jpg

If being a photographer meant only having wedding clients, I would not be one! And for a while, I thought I wouldn’t be a photographer more than as a hobby. When I started out I assisted a friend in photographing a couple of weddings and it was amazing to get to do that but at the same time, I struggled to feel passionate about weddings. I really believe someone getting married deserves a photographer that is just as excited as they are and if I’m at a wedding, I’m super happy for the couple but also probably judging all the cheesiness at the same time, haha. It just wouldn’t be a good fit for me or for the client.
So I decided not to be a photographer. Taking photos would just a hobby for me so I could create what I wanted. But even after that decision, I could not stop thinking about it.

Finally one day I saw a quote that I couldn’t ignore. It said

“People who are less skilled than you are succeeding at your dream simply because they started first.”

That quote made me realize that I needed to make photography official and just start even though it seemed impossible. I officially started my business on December 1st, 2018. I spent about the next year trying all different types of photography and working on my creative project which you can read all about HERE.
After that year of trying senior portraits, fashion shoots, family photos, engagement portraits, and headshots and branding photos, I realized branding was my favorite. So in September of 2019 I announced that I was choosing to be a branding photographer.

DSC_0132.JPG

Why did I like it the best?
I like that the projects are one-on-one with the client. I like that the project is focused on making them shine and succeed. I like that I can bring my creative ideas and style to someone else as a valuable contribution to their very important work. I like making the projects my own way, not boring and commercial and stuffy. But I get to show the world some beautiful people who are doing amazing work who are also real and have real obstacles to overcome.
I like making and breaking my own rules. Some branding photography, especially commercial photography, can seem stuffy and formal. I considered this when I was choosing brand photography. Would I have to wear a pantsuit? Would I be allowed to crack jokes and be my laid back self? Ultimately I realized that it’s my business and I can make it the way I want it.

My mission is to lift up small creative businesses by providing the photos they need to show the world their important work. Because of the process of planning that goes into a branding shoot, a branding photographer doesn’t just push the shutter button and call it a day. A branding photographer is an artist, a mentor, a synthesizer, a cheerleader, a broadcaster. It’s such a beautiful job and I don’t take it lightly.

Final 1.jpg

Using Your Branding Photos

So you had a branding photo session, it went great, and now you have all these beautiful photos to use for your business… now what?

If you’re not a photographer, knowing what to do with your photos after the session may not come naturally. Especially since these days, most photos are delivered in digital form. Here are my tips for keeping your photos safe and easy for you to use.

Model Grace Aasen

Model Grace Aasen

  1. Save Your Photos

The first thing to do is to download your photos to multiple safe places. When you get photos from me you’ll receive all your final images in a gallery that’s emailed to you along with a PIN number that allows you to download them. I recommend downloading them once you get that email because it will make your life easier. Later on, when you’re trying to post to Instagram you won’t want to sort through your emails to find that PIN.

Best places to download your photos to include a flash drive, external hard drive, or cloud storage. Devices often fail so choose at least two ways of saving your photos. This is important because if your photos got lost I might not be able to resend them to you. Photos take a lot of space and my digital storage space is limited just like anyone else. Of course I will do my best to help in a situation like this, and I’ve never run into this before without being able to help, but it’s better to be safe than sorry.

2. There are multiple ways you can use your branding photos once they’ve been secured. Here are some things to consider when putting your photos on:

A Website

High-quality photos are wonderful of course, but high-resolution images can actually significantly slow down the loading speed of website pages. Ideally, a webpage should load in three seconds or less to increase the time people are spending on your site. It sounds ridiculous, but people tend to give up looking at a page if it takes any longer than three seconds.

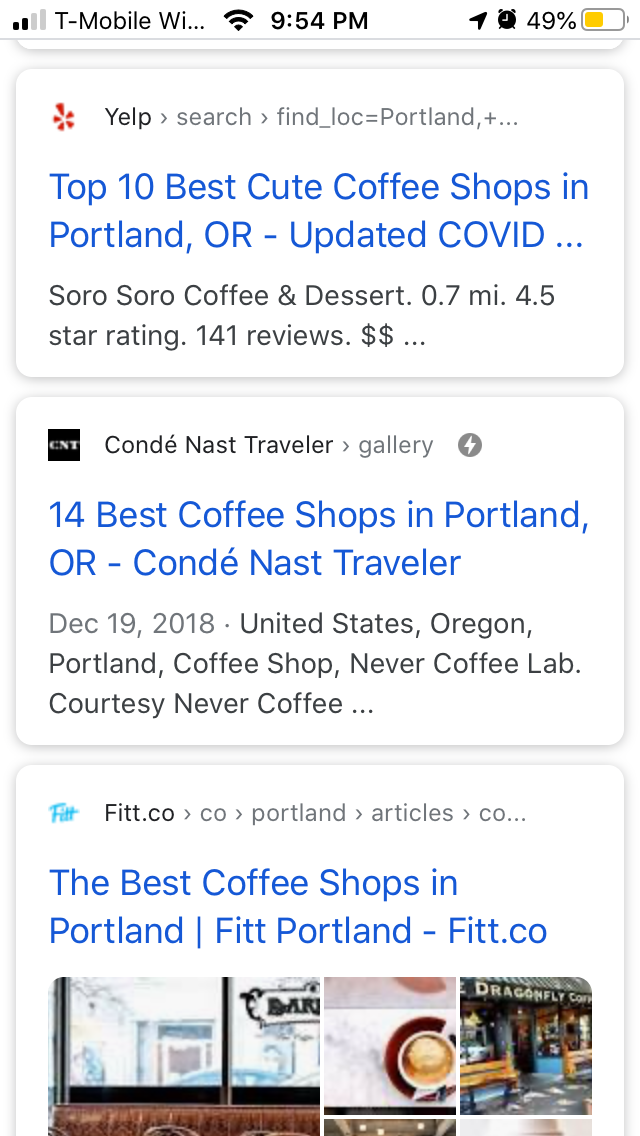
It’s really easy to test how fast your website loads. THIS SITE is a free option to do this. You simply enter any URL and it will tell you how slow or fast it loads and I like this particular one because it’s simple to use and gives detailed results, but searching for “Website speed test” will give many more options as well.

Usually, when photographers give photos to their clients they provide high-resolution photos in JPEG format. The best size for a photo to run smoothly on a website is 2500 pixels wide at the most. You can resize photos in photoshop, but for those of us who are not photographers or graphic designers, there’s also a more simple way.

JPEGmini is a program that automatically makes your photos smaller for the web. It does cost money but you can get a free trial to check it out first. This site is great because it doesn’t crop any part of the photo. It resizes everything to fit in the dimensions that you set.

A less user-friendly but free option is resizeyourimage.com. Unlike JPEGmini, which reworks the pixels so it doesn’t cut off parts of the photo, this method will crop the actual photo. It might not work for every photo that you want to use but at the very least you’ll be able to see what pixels the length and width of your photos are to check if the photo should be resized.

Social Media

Helping provide photos that creatives can post to their social media is one of my main purposes as a branding photographer. I know that keeping up with multiple forms of social media can get overwhelming, so here are some ideas and resources to make posting easier.

Plan it out in advance.

There are multiple apps that will plan your Instagram and Facebook posts for you. You’ll be able to see what all your photos look like together, move posts around to play with the arrangement, and even set them to post automatically for you. Some popular apps that do this are Planoly, Later and Plann. All of these apps have most of the same features so it comes down to which ones are the easiest to use for you. All of these three options also start with a free account option that you can use as long as you want to, although you’re usually limited to one user and 30 uploads a month. For one person, that’s really all you need and if you have bigger needs the paid plans start at $7 a month.

Have a theme

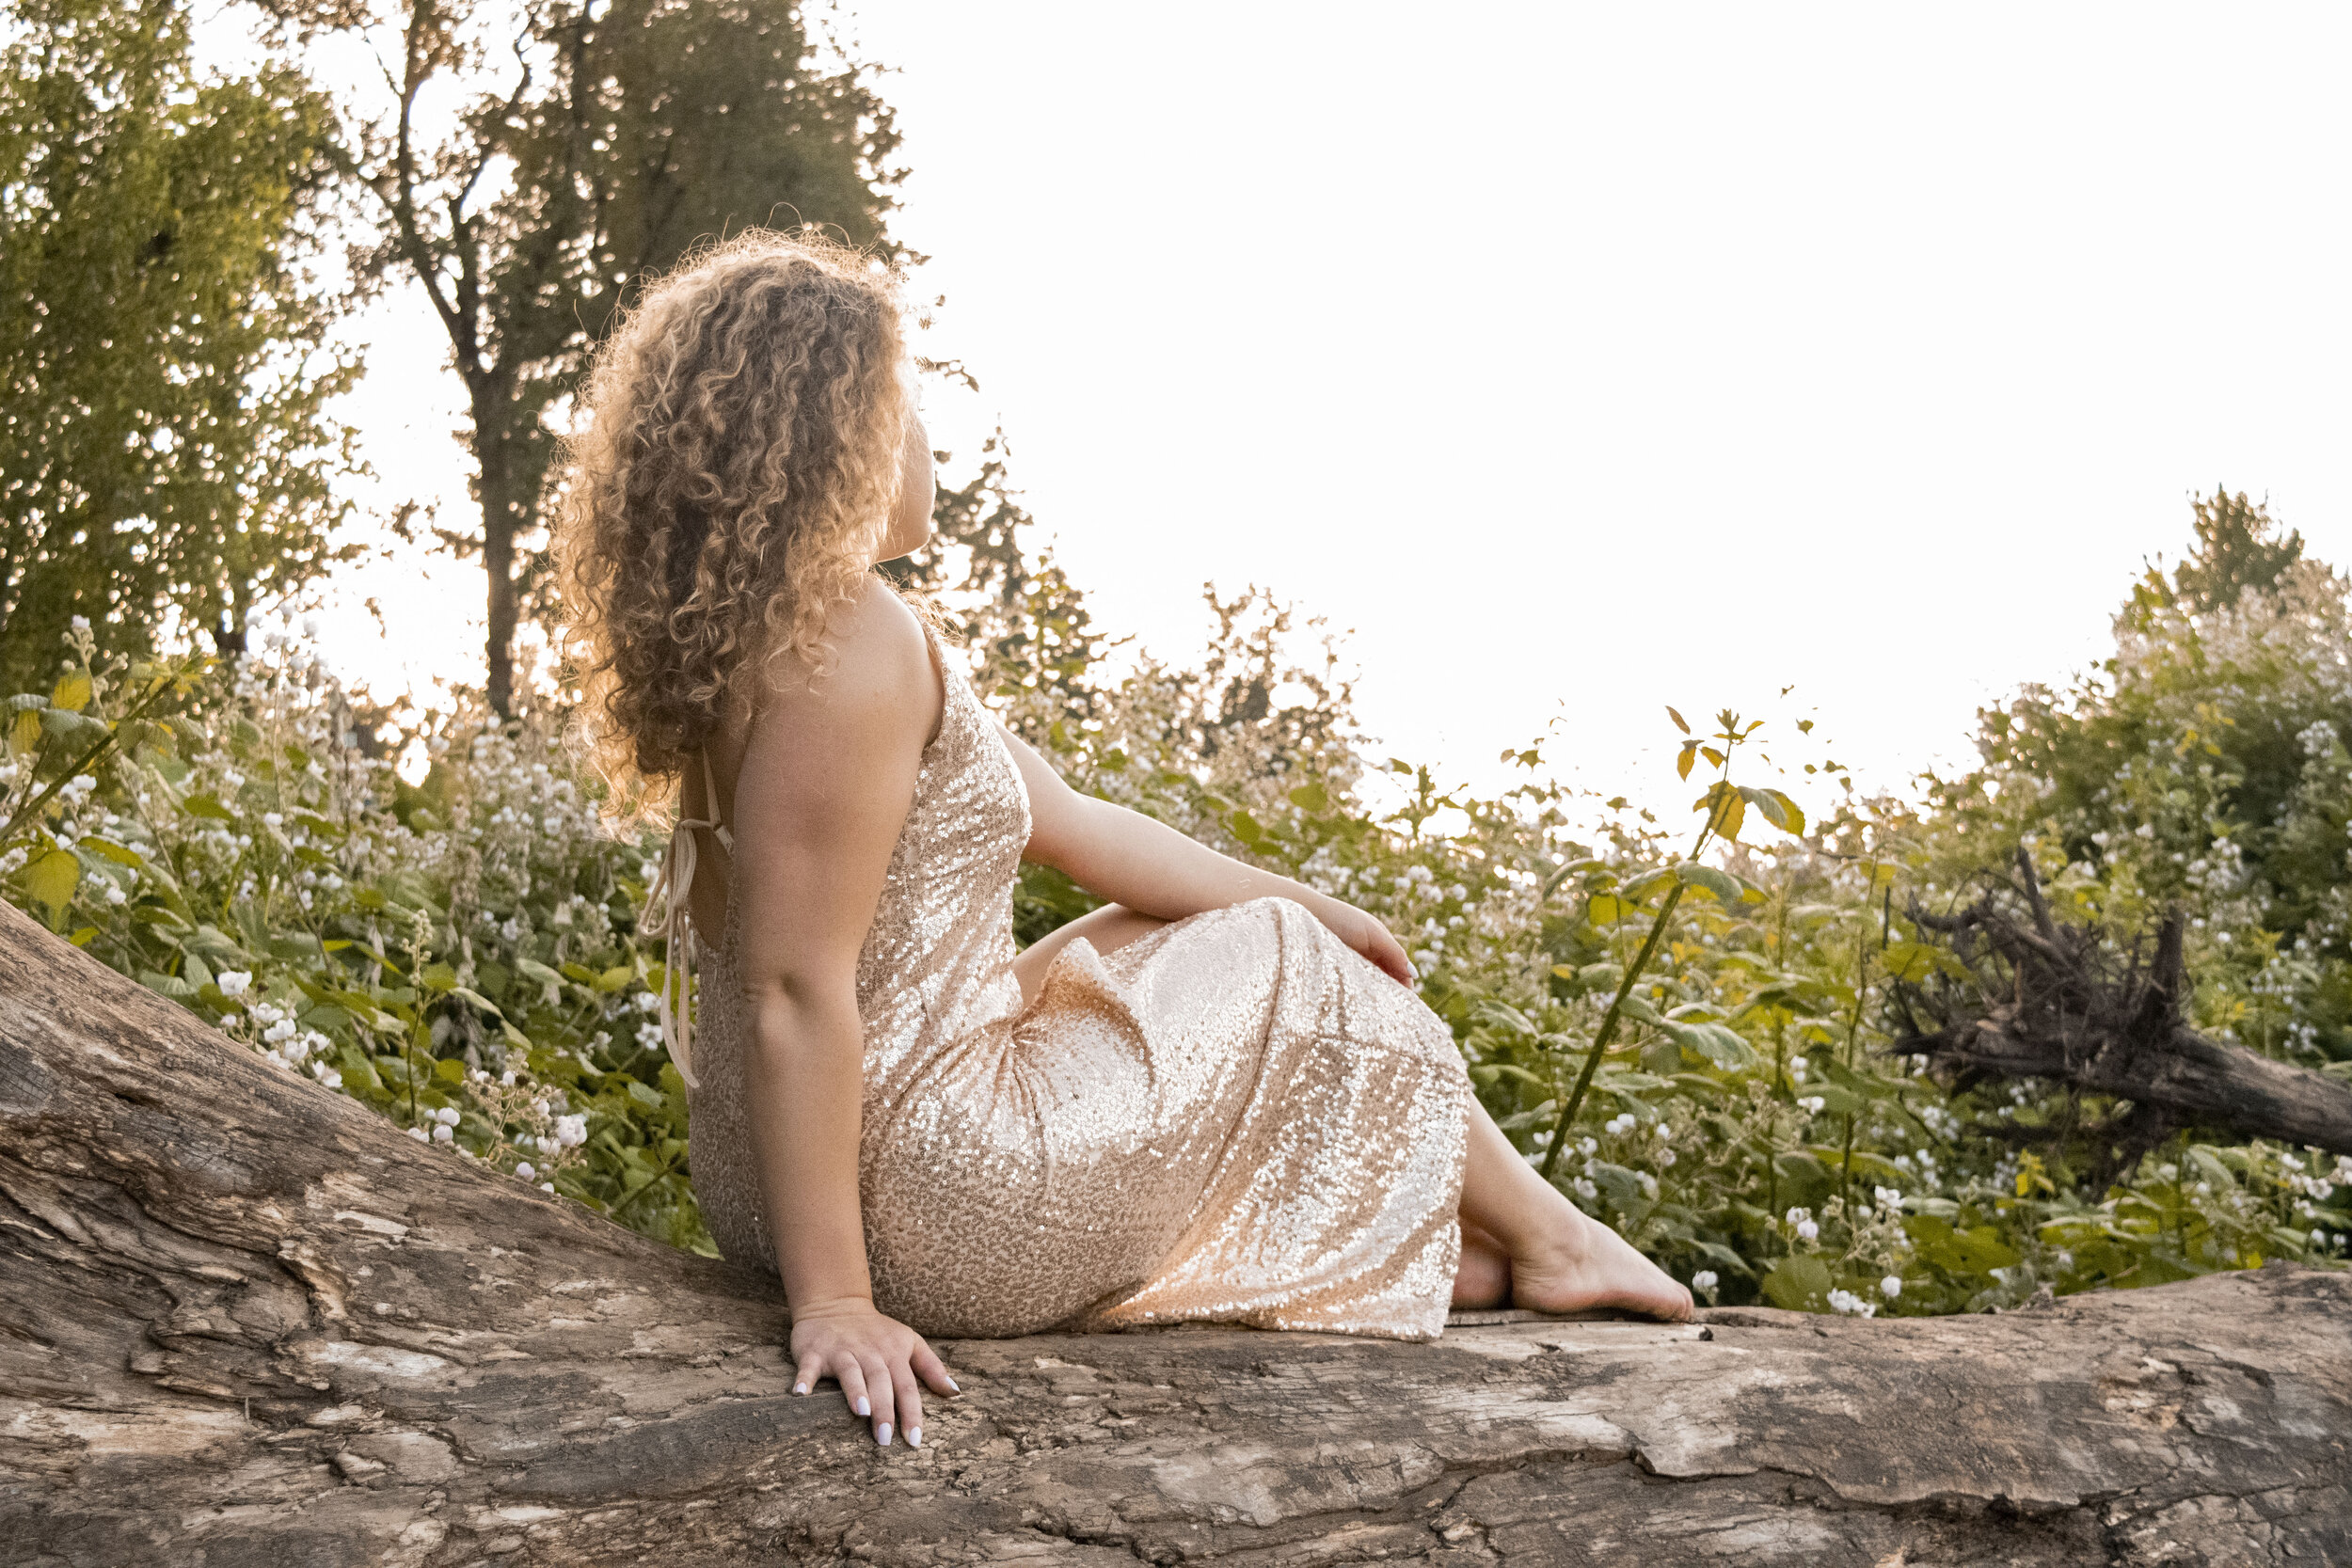
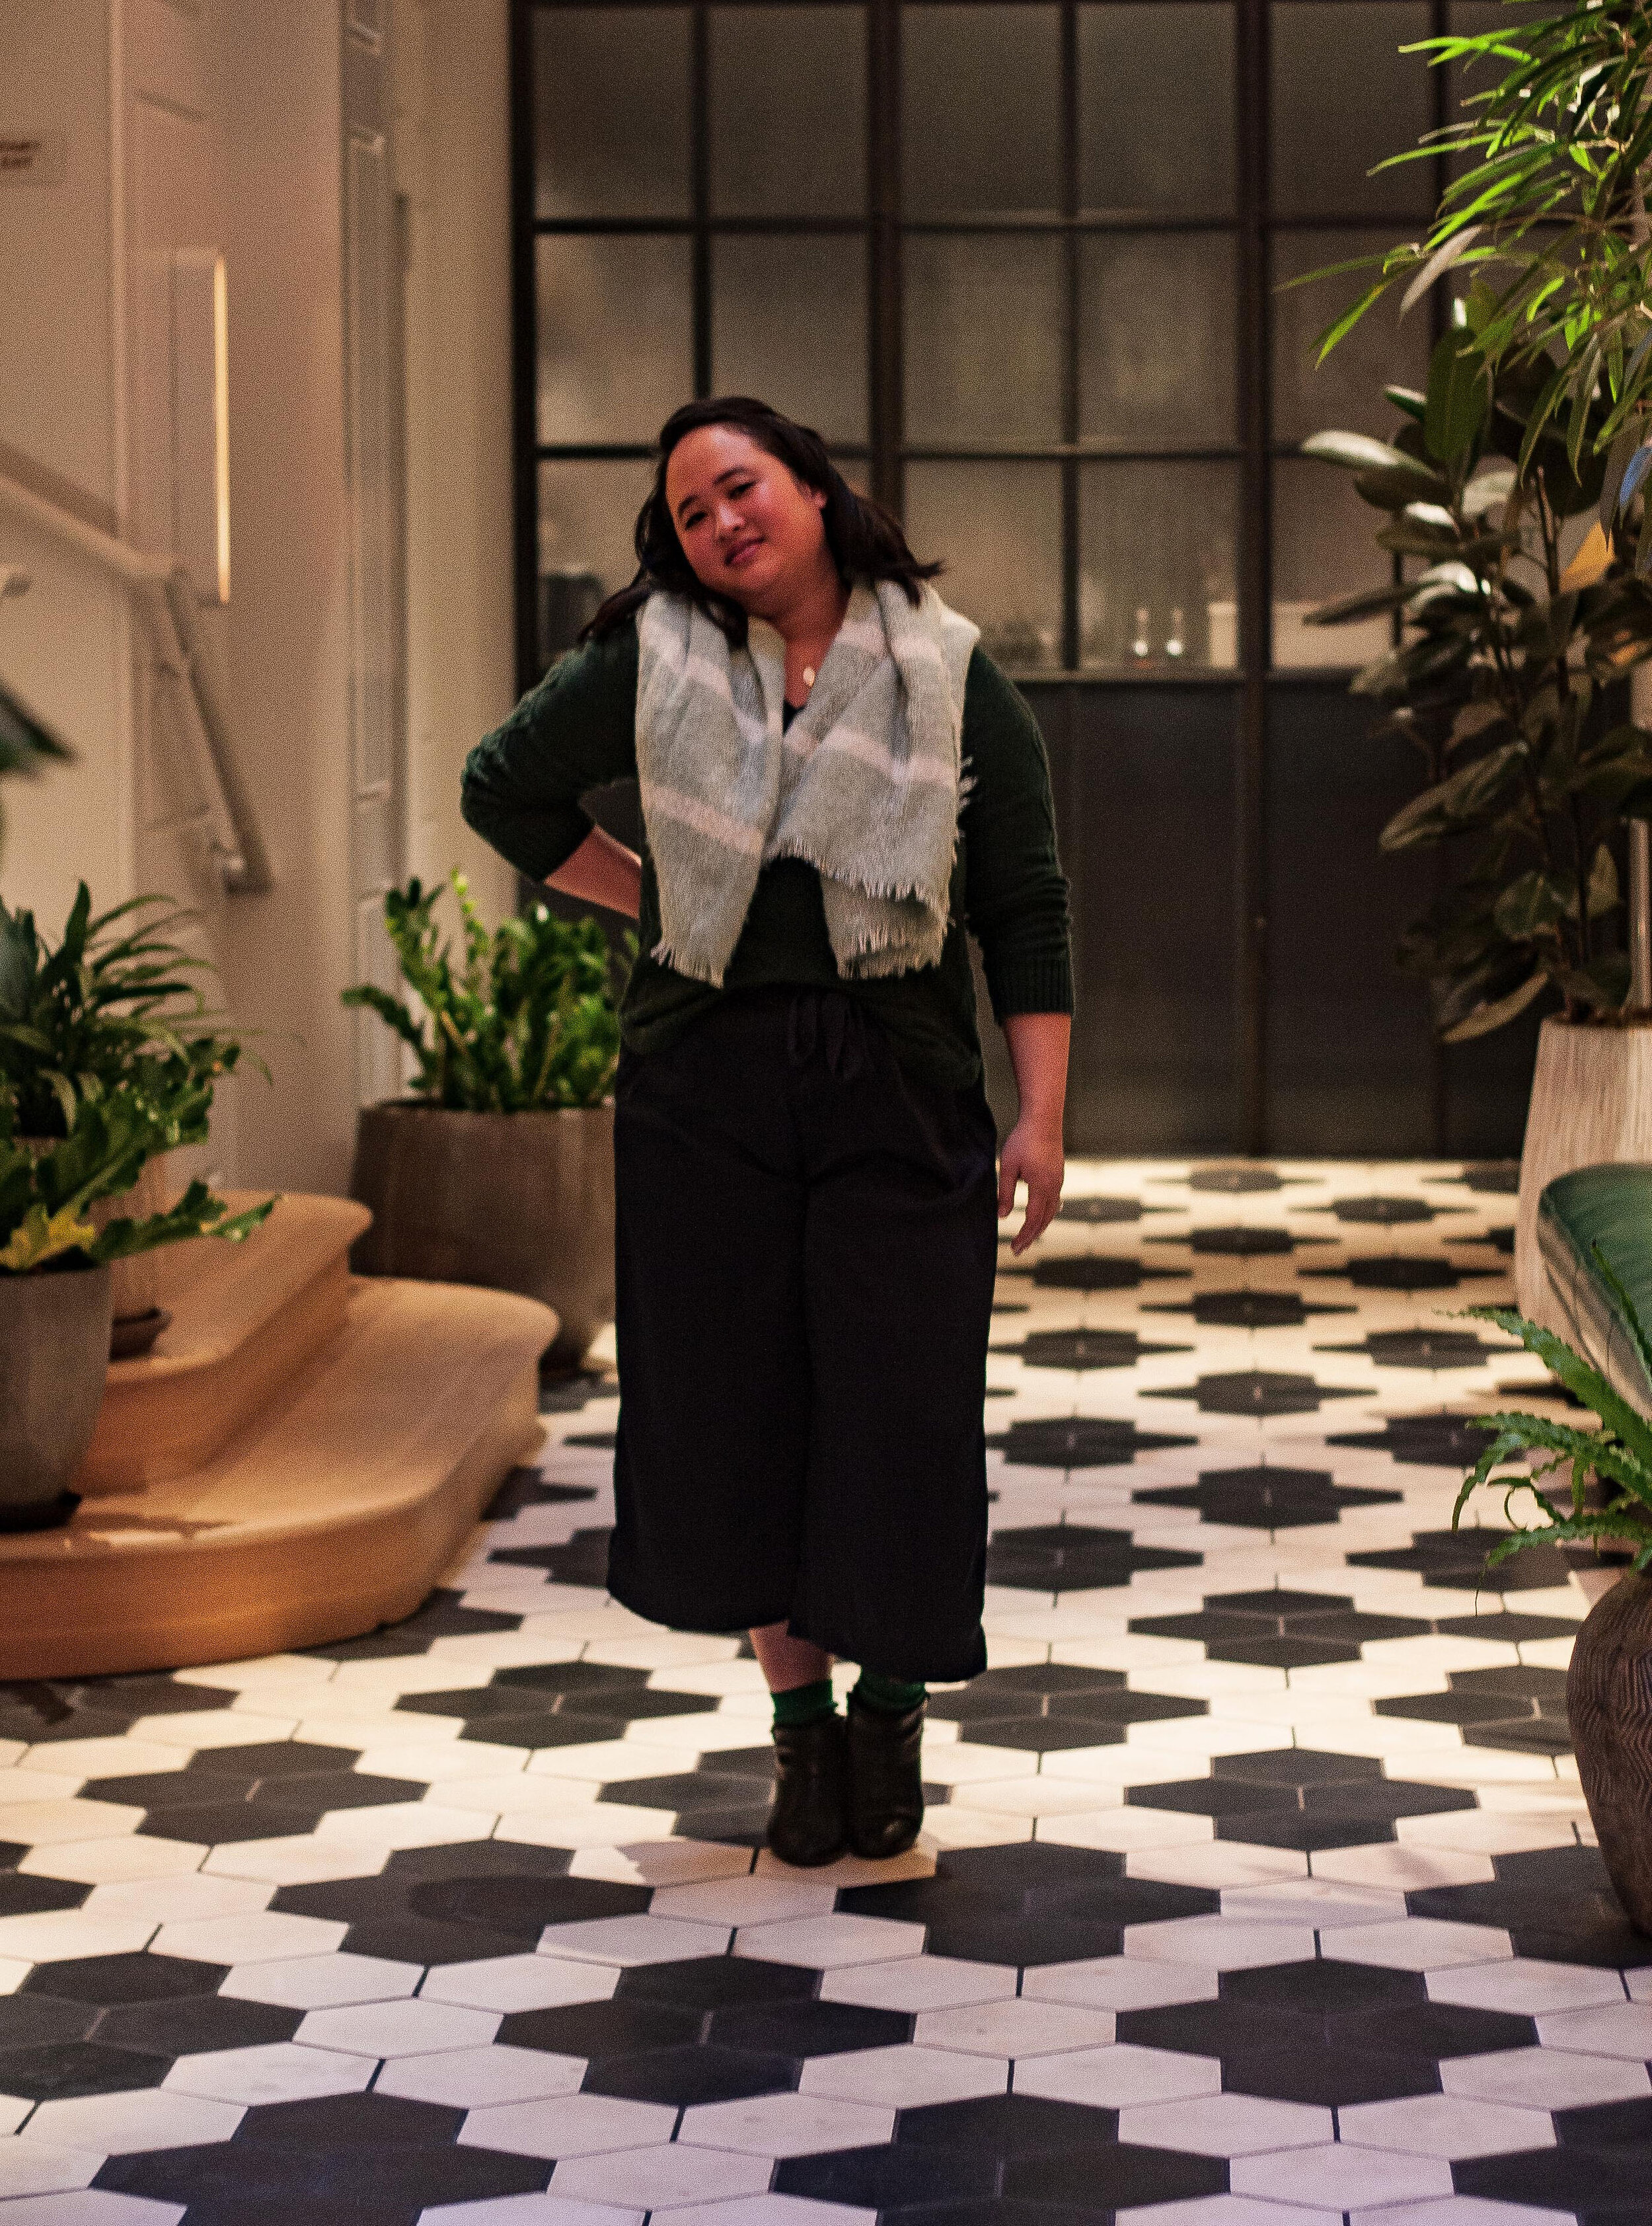
Having a theme on your Instagram feed can help you decide what to post next and keep your feed looking really great. Some examples of themes are three photos at a time of one outfit look, a quote and a photo alternating every post, or alternating black and white and colored photos. I use a theme, I have chosen to do a green and white checkerboard pattern. My work is usually taken either outside in the Oregon forest, or in a studio with white walls. Once I noticed this it was easy to decide on my theme. I like the way it looks, but it also helps me pick what photo to share next because if my latest post was taken in a bright studio, I know that the next one to post should be of someone outdoors. Think about what makes sense to your feed and the look you want to have that matches your style.

Create a banner

Another fun way to use your branding photos is to use them for something creative. One of my favorite tools is called Canva. You can pay for it, but many of the features are free to use and it makes designing anything super easy. I’ve created multiple banner photo collages for Facebook and LinkedIn profiles. I like to surprise my clients with a banner collage, and I also have used it for my own social media accounts. Try Canva HERE.


3. Editing and Filters

I’m ending this post with a topic that can get very controversial. Most photographers are really offended by clients changing the way their photo looks because we work hard to make the photos the best they can be. If we didn’t edit, it would be like ordering a birthday cake and receiving only the baked layers and a tub of frosting. The customer isn’t expected to finish the photos, just like we don’t assemble a cake from a baker ourselves.

This being said, I understand that in the context of business, sometimes photos need to change a bit. I don’t have a problem with smaller practical changes like adding text to a photo I’ve taken, but I would not want a client to face tune their photo or add a filter. The exact details of what is and isn’t ok are in my contracts with clients.

It’s also important to understand a photographer’s work before hiring them. Each one has a different style and every photographer is not for every client. There are things you can do to make sure that you’re on the same page with your photographer before they even take one photo of you. Do your research by viewing their website and social profiles, and make an inspo board on Pinterest to share with them before the shoot. Doing those things will help to ensure that you will love your photos.
You can learn more about photo session prep by reading my blog post “Planning for your Photo Session.”

After you have done all the prep, taken photos, picked the photos you want to keep, and received the final edits, if you don’t like your photos, talk to your photographer. We want you to love them and be able to use them!

I hope these ideas and resources will help you to stay organized and confident about using your photos!

Model Grace Aasen

Model Grace Aasen


Planning For Your Photo Session

So you know you want photos taken and you start googling photographers in your city. Whew! The search can get overwhelming really fast. There are so many options for photographers who look decent, but how do you pick the one that’s right for you?

I’m going to share some ideas all about finding the right photographer and knowing what to prepare for so you’re sure to love your photos!

Model Clara Charmak

Model Clara Charmak

1. Finding the right photographer

The first place to start is finding a photographer that creates photos you like! All photographers have differences in their style of taking and editing photos. Since photos are visual of course, a quick way to check for photographers you like is to do a search on Instagram. A simple search of your city name and photographer will bring you lots of results, although many photographers are willing to travel so don’t worry if the one you really like doesn’t live near you. When viewing their posts check to see if their colors and quality are consistent. Think about how their photos make you feel. Can you see yourself being one of the people in their photos?
Once you find several photographers whose style matches the look you like, narrow your search down to the specialists. If you’re eloping, choose an elopement photographer, if you want candid shots, find a lifestyle photographer, if you need branding photos for your business find a photographer that only shoots branding photos for businesses. Its not a bad thing for photographers to shoot multiple genres, but my personal advice is choose a specialist. That way you’ll know they have the experience and the right mindset to deliver exactly what you need.

Once you have narrowed down your search to a few options then go ahead and inquire with those photographers! If you lien options a long list can be nice but I suggest having at least one first choice and also a backup if you change your mind or your first choice is unavailable to you.

2. Inspiration board

After your photographer has been chosen, it’s time to start planning your shoot. Your photographer will want you to love your photos and a good way to ensure that you do is to have the same expectations for the final photos. Search on Pinterest for the kind of photos you want and create a board that the photographer can also see so they know what you like. Keep in mind that you chose to hire them for their style so the photos you receive won’t be exactly like what you find on Pinterest but this is a great way for your photographer to get to know you. I suggest choosing 20-30 different pins, more than that may get confusing. Trust that your photographer can deliver what you’re needing but also don’t be afraid to tell them about any specific must-have shots that are on your list.

3. Outfit plan

Next, it’s time to plan your outfits. The number of outfits you next will depend on the length of your photo session and the package you have purchased. For my branding sessions, clients get at least two outfits so I always make sure to remind them to get both a casual and a fancy outfit. This way you get more use out of your photos. When choosing items for your outfits my advice is to choose plain colored clothes with a pop of something interesting. You want to stand out in the photos but you can still show your fun personality with a velvet texture, a rainbow-striped shirt under a serious black blazer, or wild animal print shoes. Don’t forget to accessorize! Choose things that represent you or things you like. Too many accessories can be distracting so two to three items should be plenty.


4. Schedule hair/makeup

Another way you can help yourself feel excited and super prepared for photos is to get fancy before the event. Getting your hair and makeup professionally done will help you to feel like you look your best. Your photographer is a great resource to recommend a hair and makeup artist for you.


5. Treat yourself

Ultimately you should think about your photos session as a way to treat yourself. If you look forward to it that will go a long way toward your photos being natural and look like your true personality. You’ve done all the prep work, now don’t be afraid to celebrate your amazing self! And maybe take yourself out on a date after it’s all over.

Model Clara Charmak

Model Clara Charmak

I hope these tips help you feel super prepared and confident for your photo session. Any photographer can pose you like a mannequin but the photos you will treasure will be the ones that show you as your true self. With this inside knowledge from a real photographer you will be able to choose the best photographer for you, communicate your personality, and have an amazing photo session!


Mini Branding Session in Downtown Portland

What does a branding photo session look like? In November 2019 I was able to do a mini branding session with a friend who I’ve worked with several times before. This session is the perfect example to discuss the branding session experience because we did a little of everything; product shots, action shots, and some cute social media portraits.

Before we get into the gorgeous photos, let me talk about all the people involved in this session!

My client was Jaime Smith of Jaime Ta Creative. She is a model and event planner in Portland Oregon. She is an advocate for women and people of color who are also business owners, and she practices what she preaches. She makes hosting an event so easy for her clients and her sweet calm presence is a breath of fresh air! Her website is HERE.

She brought along some beautiful hand made crowns by a local Portland Artisan, Stem and Stone crowns, website HERE

as well as an invitation suite designed by another Portland local; Wander Love Design Co, website HERE

Finally, our photo session location was in the lobby of one of Portland's most beautiful hotels, the Woodlark, website HERE.

We started off Jaime’s branding session with some detail shots of the props from some vendors…

…and then moved into some action shots of her arranging them for a flat lay. What beautiful items for a unique wedding or event!

Then we changed up her outfit a little and ventured further into the lobby for some more classic portraits.

Lastly, we ended her session with some portraits outside in the autumn sunshine and color.

There you have it! A mini branding session. A full branding session is essentially the same, but we simply plan more locations and outfits to get more variety.

I’m so thankful to Jaime and her connections for how beautiful this session turned out and how smoothly everything went. As a reminder, the links to everyone are at the top of this post!

If you like what you saw and are curious about booking a branding session for yourself, you can contact Joanna at Joanna Ray Images HERE